Replacing the Battery in a Shanling M1
This article covers replacing the battery in the M1, but the same basic steps apply to the entire Shanling family (although different size batteries will be needed).
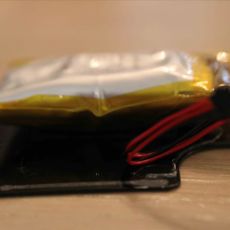
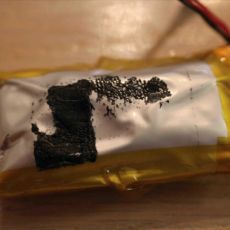
Before we get started, a word of caution is needed regarding working with lithium ion batteries. These cells can burn, explode, and release toxic fumes and have caused serious injuries and even deaths. If you don’t feel comfortable working around these, or you are the type that is likely to get frustrated and stab a screw driver through one while trying to pry the thing lose, I strongly recommend you have someone else do the work and stay safe.
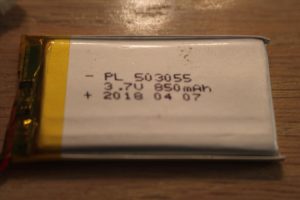
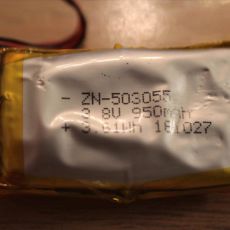
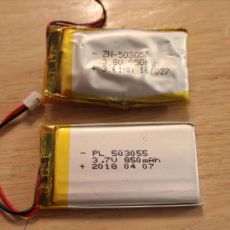
Batteries should have 3 numbers of interest on them. the first is the dimensions. the second is the resting voltage, and the 3rd is the charge capacity. In this case the size needed is 503055 and the capacity of the original in 950 mAh. I was not able to find a 950mAh in the same size, but was able to find an 850mAh available through Amazon. This will mean the replaced unit wont have quite the battery life of the original, but in our case size is critical so it was more important to find a cell of the proper dimensions than one with the same capacity. UPDATE: Since writing this Shanling contacted me and let me know that the original battery is available through ShenzhenAudio here. This will save you some soldering and is very reasonably priced.
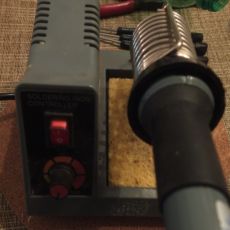
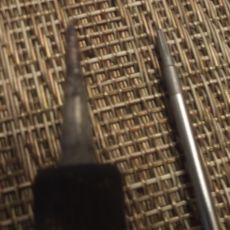
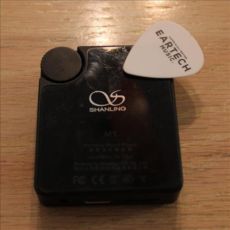
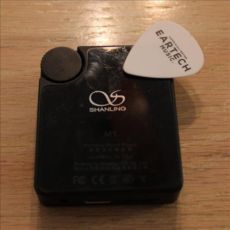
Once you have your replacement battery rounded up, you’ll need a guitar pick or other small instrument for popping the back cover off. I do not recommend a metal screwdriver as it will scar the case, plastic is safer. The only other tool needed is a soldering iron. You don’t need an expensive rework station, but an iron with a fine tip as shown below that gets really hot is helpful as more components are damaged by extended exposure to low heat rather than a quick exposure to a higher temperature.
On the rear of the player, fit your pick under edge at several points and lift gently. The battery is attached to the rear plate and to the circuit board so a slow gentle removal is needed to expose the connection so it can be completely disassembled. Once you have worked the backplate loose, gently lift the back no more than 1/2 an inch and then carefully turn it over to expose the internals.
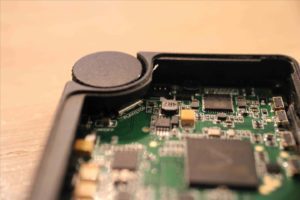
The connector is at the top partially hidden by the scroll wheel. Carefully lift the rear edge of the connector with the pick then pull it downward to remove it from the player. This operation and the re-connection at the end are the most tedious parts of the process. Go slow and be careful as breaking this connector will require a professional repair.
Now with the backplate disconnected, use the pick to carefully work the battery loose. Remember that puncturing this cell will cause it to burn and potentially worse. Slow and easy and take your time until the battery comes loose from the plate.
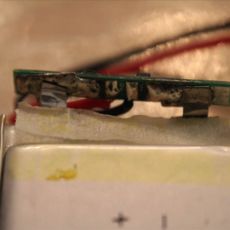
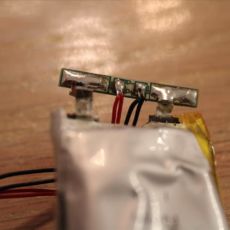
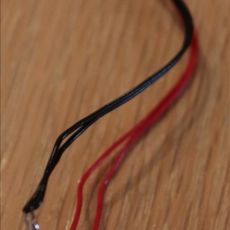
On the old battery, remove the yellow foil that covers the connections and then carefully bend the connector upward to expose the solder points. This exposes the connections and while the 4 wires make it look like the batteries don’t match, you’ll be able to see that the wires are paired and actually only two connections are made.
Pre-heat your soldering iron and remove the wires from the old battery. High heat for a short time is much less likely to damage a battery than extended heat so don’t be afraid to set the iron on high. Most times the solder will come off with the wires and you will want that as you will need it to re-solder on the new cell.
Once the old battery is completely free of the player and the wires removed, set it aside for recycling. It is illegal to dispose of Li batteries in household trash in most areas so find a recycler that accepts lithium batteries.
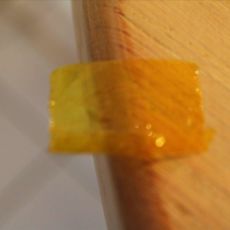
On the new battery, carefully remove the yellow protective film being sure to preserve it as you’ll need it later. When removing the wires from the new battery, I always remove one, then re-solder the replacement so I never have both wires detached. This avoids the possibility of wiring the battery in reverse and destroying the player by reversing the polarity.
Once the wires are solidly attached, fold the connector back down into its original position and reattach the protective film in position over the contact pad.
Gently reconnect the battery to the player and turn it on to be sure it powers on. Once it does, turn it off again and then gently insert the battery into the case. You don’t need to attach the battery to the rear plate but can use double-sided tape to do so if desired. Watch and make sure the wires do not sit near the edges so you don’t crimp them when re-installing the cover.
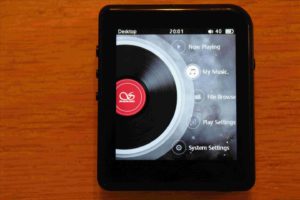
Now you are ready to close up the case. Usually you can line up the backplate, press down gently and it will settle into place and wont need any further glue or sealant. Once that is done, turn the player on to make sure closing the case didn’t break a solder joint on the battery or knock the connector loose. If the player works, time to enjoy your revitalized M1. If not, time to open it back up and check your connections to make sure they are solid.

